Users and Permissions
Mango uses a role-based permission system to control access to data points, data sources, system settings, and UI features. Users represent individuals who use the system, and various privileges can be assigned to grant them the ability to read and alter data and system behavior.
User Levels
There are two fundamental user levels in Mango:
- Administrators: Users with the
superadminrole have full access to all system functionality, including system settings, module management, data source configuration, and all data points. - Non-administrator users: These users have access based on their assigned permission roles. They can only view and interact with resources that their roles grant them permission to access.
Every valid user implicitly belongs to the user role. This role is automatically assigned and cannot be removed.
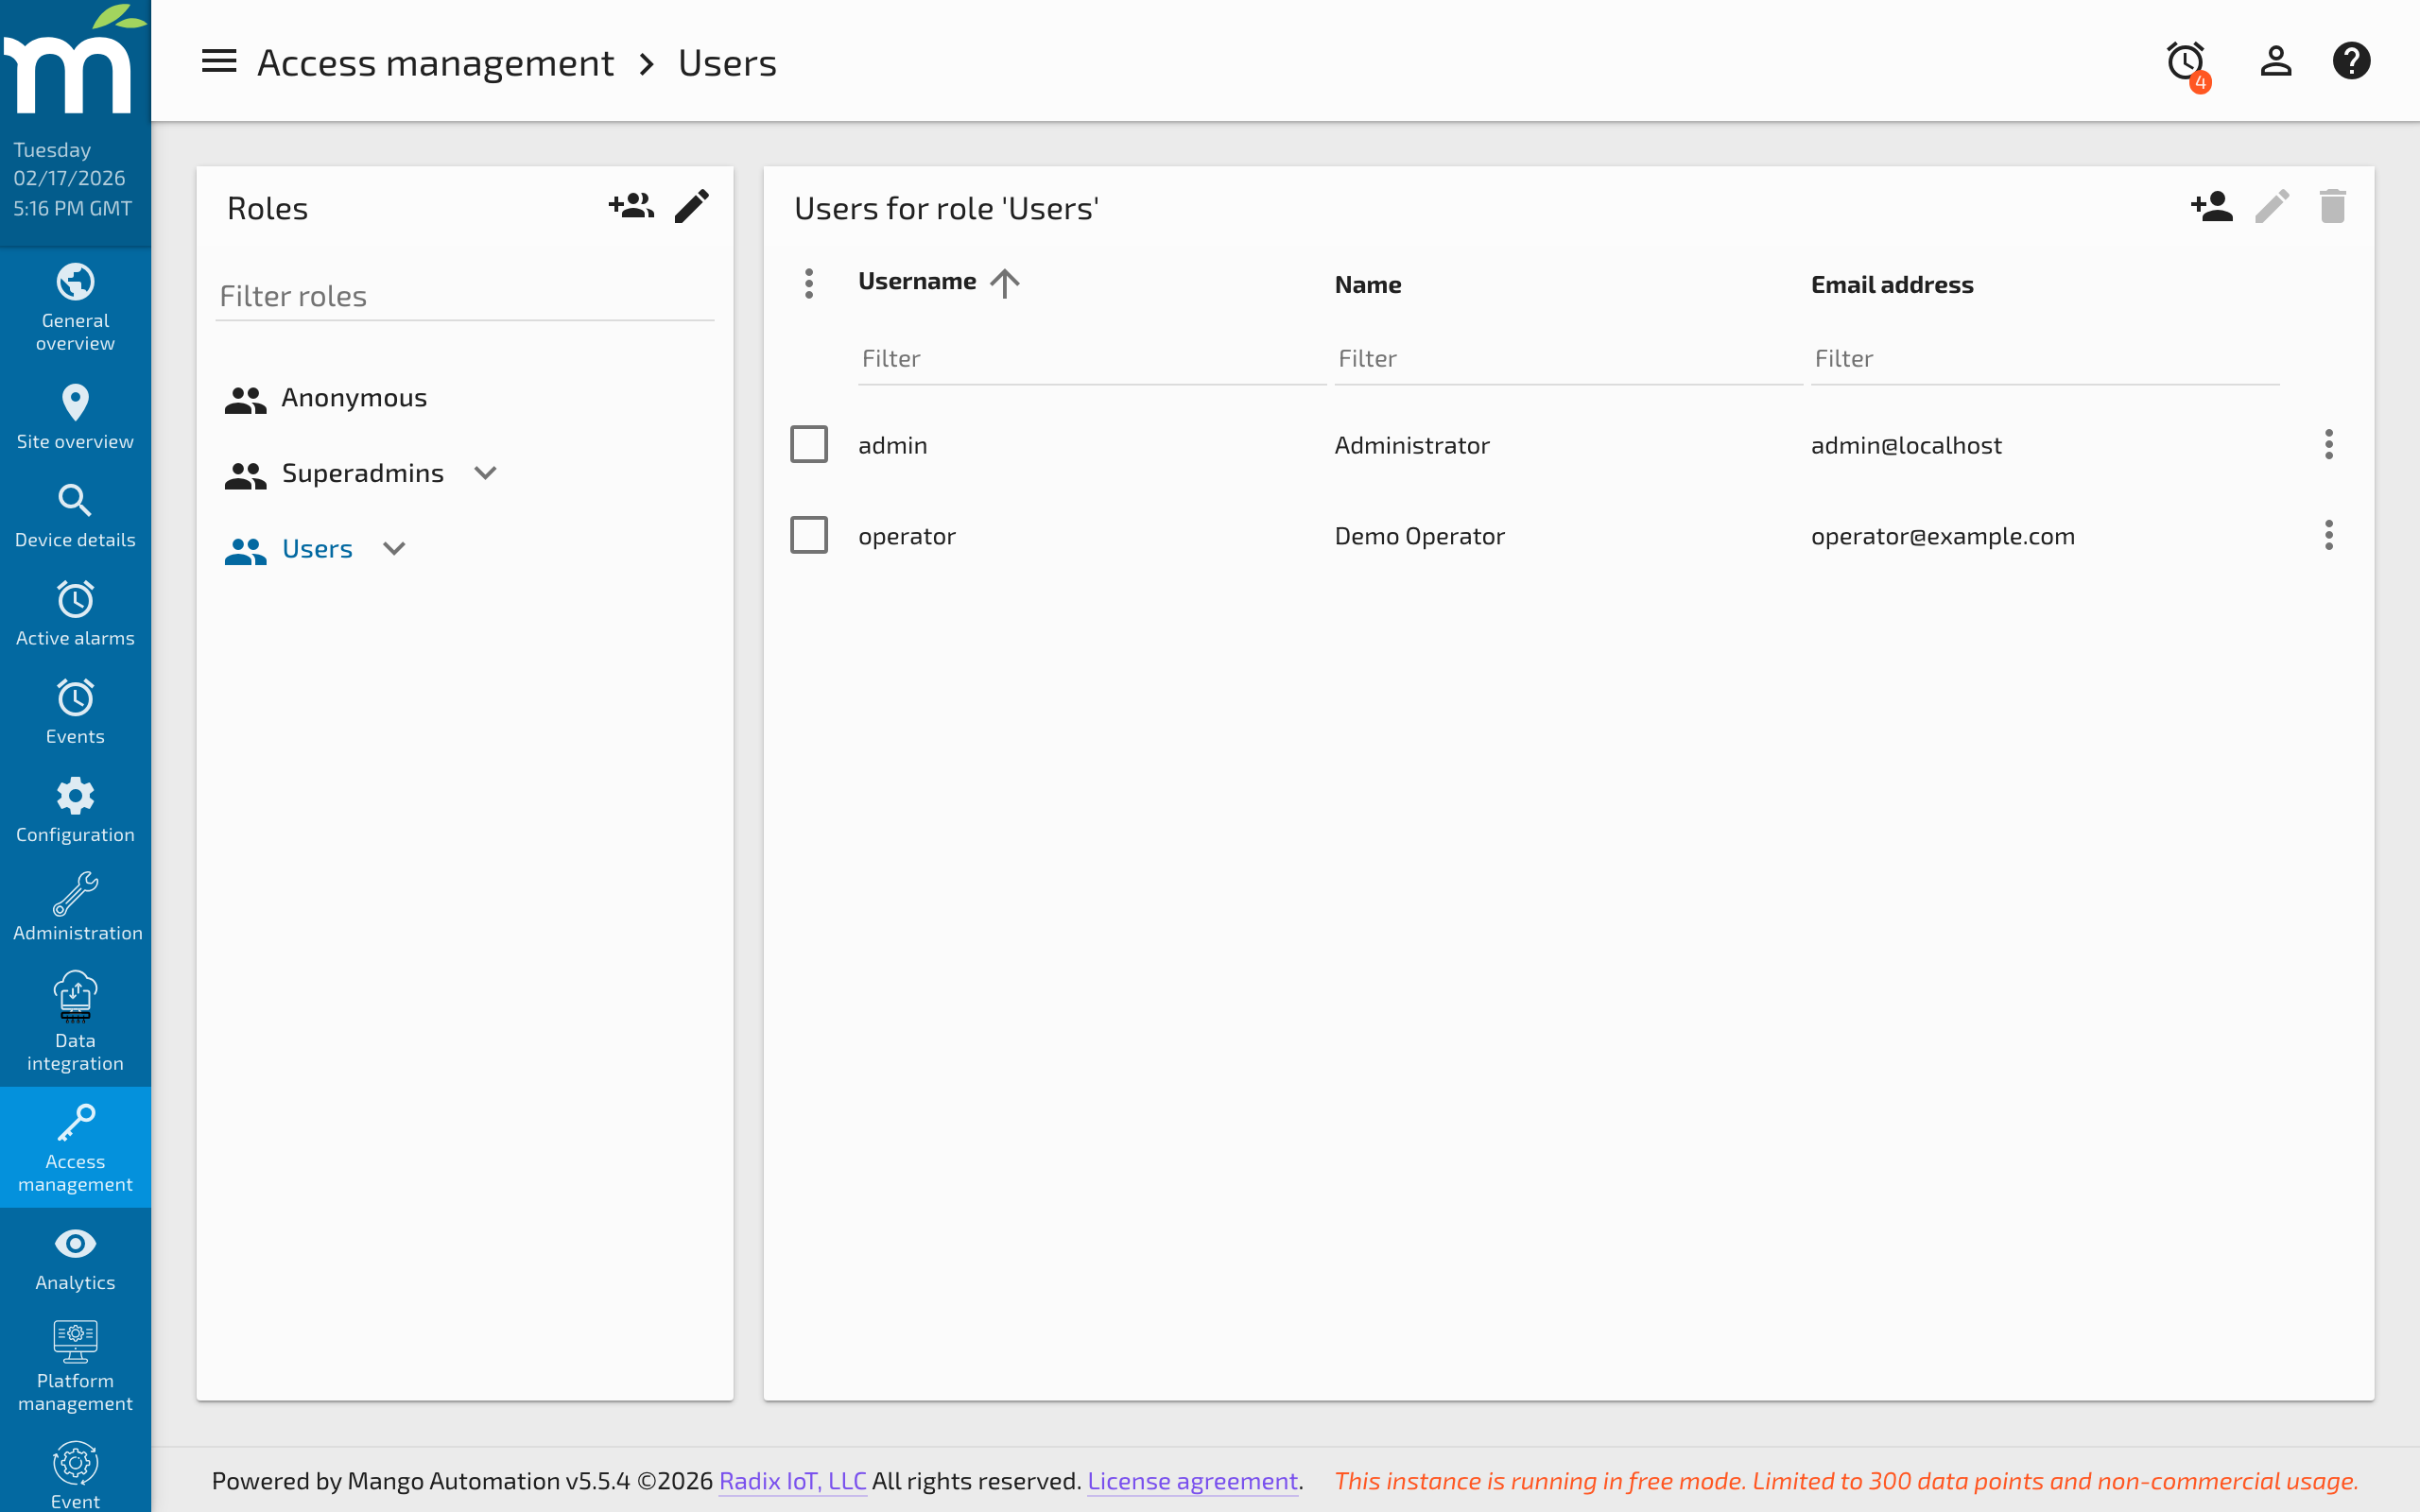
Managing Users
Creating a User
To add a new user, navigate to Administration > Users and click the New button. Configure the following properties:
| Property | Description |
|---|---|
| Username | A unique login identifier for the user. |
| Password | The user's authentication password. Stored using the configured hash algorithm (BCrypt by default). |
| The user's email address, used for alarm notifications and test emails. | |
| Phone | Optional phone number for SMS notifications (if configured). |
| Permissions | Comma-delimited list of roles assigned to the user. |
| Muted | When enabled, the user does not hear the alarm sound for active alarms. |
| Disabled | When enabled, the user cannot log in to the system. |
| Receive own audit events | When enabled, the user receives email notifications for their own audit trail events (at or above their alarm email level). |
| Send alarm emails | The minimum alarm level at which the user receives automatic alarm notification emails. Set to Ignore to disable. |
Alarm Email Notifications
Users can have alarm notification emails sent to their email address without being explicitly specified on an email event handler. Setting the Send alarm emails level to anything other than Ignore causes the user to receive event notifications when the event's alarm level is greater than or equal to the configured level. These notifications are sent only when the event is raised (no escalation or inactive notifications). If the user is already specified on an email event handler for the same event, they will not receive duplicate emails.
User Actions
- Delete: Permanently removes the user from the system.
- Revert: Resets unsaved changes back to the last saved state.
- Send Test Email: Sends a test message to the user's configured email address to verify email delivery.
- Switch To User: When viewing a different user's profile, allows an administrator to log in as that user.
Permission Model
Mango's permission system is based on virtual "groups" (roles). Permissions are specified as comma-delimited lists of role names. A user is granted access to a resource if at least one of their roles matches at least one of the roles in the resource's permission list.
Role names are case-sensitive. The role Operators is different from operators.
Permission Types
| Permission Type | Description |
|---|---|
| Read permission | Allows the user to view the resource in a non-modifiable way. For data points, this means viewing current and historical values. |
| Set permission | Allows the user to modify the resource. For data points, this means writing new values to settable points. |
| Edit permission | Allows the user to change the configuration of the resource (e.g., editing data source settings). |
System Permissions
System-level permissions control access to administrative features:
| Permission | Controls Access To |
|---|---|
| Data source management | Creating, editing, and deleting data sources. |
| Event handler management | Creating and configuring event handlers. |
| Import/export | Using the JSON import/export functionality. |
| SQL console | Running SQL queries directly against the database. |
| Module management | Installing, updating, and removing modules. |
| System settings | Modifying global system configuration. |
These permissions are configured on the System Settings page under the Permissions section. Each system permission has a list of roles that are granted access.
Data Point Permissions
Data point permissions control who can read and set individual data points. You can configure permissions on individual data points, or use the Bulk Data Point Edit page to apply permissions to multiple points simultaneously.
- Read permission: Users with a matching role can view the point's current value, historical data, and statistics.
- Set permission: Users with a matching role can write values to the point (if the point is settable).
Data Source Permissions
Data source edit permissions can be set on each data source to control which non-administrator users can configure the data source and its points.
Assigning Permissions
Via the Users Page
When editing a user, the Permissions field shows the user's current roles. Click on the dropdown to see a list of roles that other users have but the current user does not. Click a role name to add it to the user. Save the user for the changes to take effect.
Via Bulk Editing
The Bulk Data Point Edit page provides an efficient way to assign read and set permissions to multiple data points at once. Select the points you want to modify, then set the desired permission roles.
Via the Data Source Editor
When editing a data source, you can set edit permissions for the data source and configure default read/set permissions for new data points created under that source.
Via Menu Items and Custom Pages
Permissions can also be applied to menu items and custom pages to control what each user sees in the UI. This allows you to create tailored user experiences where operators only see the dashboards and tools relevant to their role.
Practical Example
Consider a plant with three teams: Operators, Engineers, and Managers.
- Create roles:
operators,engineers,managers - Assign roles to users based on their team membership
- Configure data point permissions:
- Production points: Read =
operators,engineers,managers; Set =operators - Configuration points: Read =
engineers,managers; Set =engineers - Financial data points: Read =
managers; Set = (none)
- Production points: Read =
- Configure system permissions:
- Data source management =
engineers - Event handler management =
engineers,managers - System settings = (superadmin only)
- Data source management =
- Configure menu items so operators see only the operations dashboard, engineers see the data source editor, and managers see the reporting pages.
Best Practices
- Use descriptive role names: Choose role names that clearly describe the group's function (e.g.,
plant-operators,site-engineers). - Apply least privilege: Grant each user only the minimum permissions they need for their job function.
- Use bulk editing for large deployments: When managing hundreds of data points, bulk permission editing saves significant time.
- Audit permission changes: Mango's audit trail records permission changes, helping you track who modified access controls and when.
- Test with a non-admin account: After configuring permissions, log in as a non-administrator user to verify they see only what is intended.
Troubleshooting
| Problem | Cause | Solution |
|---|---|---|
| User cannot access a data source | The user's roles do not include any role listed in the data source's read or edit permission | Open the data source editor, check the Edit permission field, and add one of the user's roles. For read-only access to the data source's points, ensure the individual data points have a Read permission role that matches the user. |
| User sees blank pages or missing dashboard content | The user's roles do not match the page-level or menu item permissions | Check the permissions on the custom page or menu item under Administration > UI Settings. Add the user's role to the visibility permissions for the affected pages. |
| Cannot create new users | The logged-in user does not have administrator privileges | Only users with the superadmin role can create, edit, or delete other user accounts. Log in as an administrator or request that an administrator create the user. |
| Locked out of the admin account | Password forgotten or admin account disabled | Use runtime.safeMode=true in mango.properties to start Mango without initializing data sources and publishers (this does not reset the password). To reset the password, access the database directly and update the password field in the users table, or restore from a backup. If this is a fresh installation, set initialize.admin.create=true and initialize.admin.password=<new-password> in mango.properties to reinitialize the admin account on next startup. |
| Permission changes not taking effect | The user's browser session is using cached permissions | Ask the user to log out and log back in. Permission changes take effect on the next login, not during an active session. |
| User can read points but cannot set values | The user has read permission but not set permission on the data point | Edit the data point (or use Bulk Data Point Edit) and add the user's role to the Set permission field. The point must also be configured as settable on the data source side. |
Related Pages
- LDAP Configuration — Authenticate users against an LDAP directory with automatic role synchronization
- OAuth 2.0 / OpenID Connect Setup — Enable single sign-on with corporate identity providers
- Content Security Policy — Add browser-level security policies to protect the Mango UI
- Rate Limiting — Protect against brute-force authentication attacks
- Audit Trail — Track permission changes and other configuration modifications