Advanced Alarms with Meta Data Points
In Mango you can use Meta Data Points to create advanced alarms. The scripting environment allows you to use values from multiple data points to match complex conditions to activate an alarm. This is especially useful in SCADA and IoT environments where a single sensor reading may not be sufficient to determine an alarm condition -- you may need to correlate temperature, pressure, flow rate, and status values together.
Understanding Alarm Levels
Every event in Mango has an associated alarm level that determines its severity and how the system processes it. The available alarm levels are:
| Level | Description |
|---|---|
| None | The event is logged and handled but does not appear as an alarm requiring acknowledgement. |
| Information | Low-priority informational event. Appears in the alarm list with minimal visual emphasis. |
| Important | A noteworthy condition that operators should be aware of but that does not require immediate action. |
| Warning | A condition that may lead to problems if not addressed. Operators should investigate. |
| Urgent | A significant condition requiring prompt attention from operators. |
| Critical | A severe condition that demands immediate intervention to prevent damage or loss. |
| Life Safety | The highest severity. Indicates a condition that poses a direct risk to human safety. |
| Do Not Log | The event is handled (event handlers still fire) but is not logged to the database or shown in the user event cache. |
| Ignore | The event is completely suppressed -- no logging, no handling, no notification. |
When configuring event detectors, choosing the appropriate alarm level ensures that operators see the most important alarms first and can prioritize their response.
Why Use Meta Data Points for Alarms
Standard event detectors operate on a single data point. For example, a High Limit detector triggers when a temperature exceeds a threshold. However, many real-world alarm conditions depend on multiple variables:
- A high temperature is only critical when the cooling system is also reporting a fault.
- A low flow rate combined with a high pressure reading may indicate a blockage.
- A value that exceeds a limit for the first time may be acceptable, but repeated exceedances within a time window require escalation.
Meta Data Points solve this by letting you write a JavaScript script that has access to multiple data point values simultaneously and returns a result that can be used with a standard event detector.
Creating an Advanced Alarm
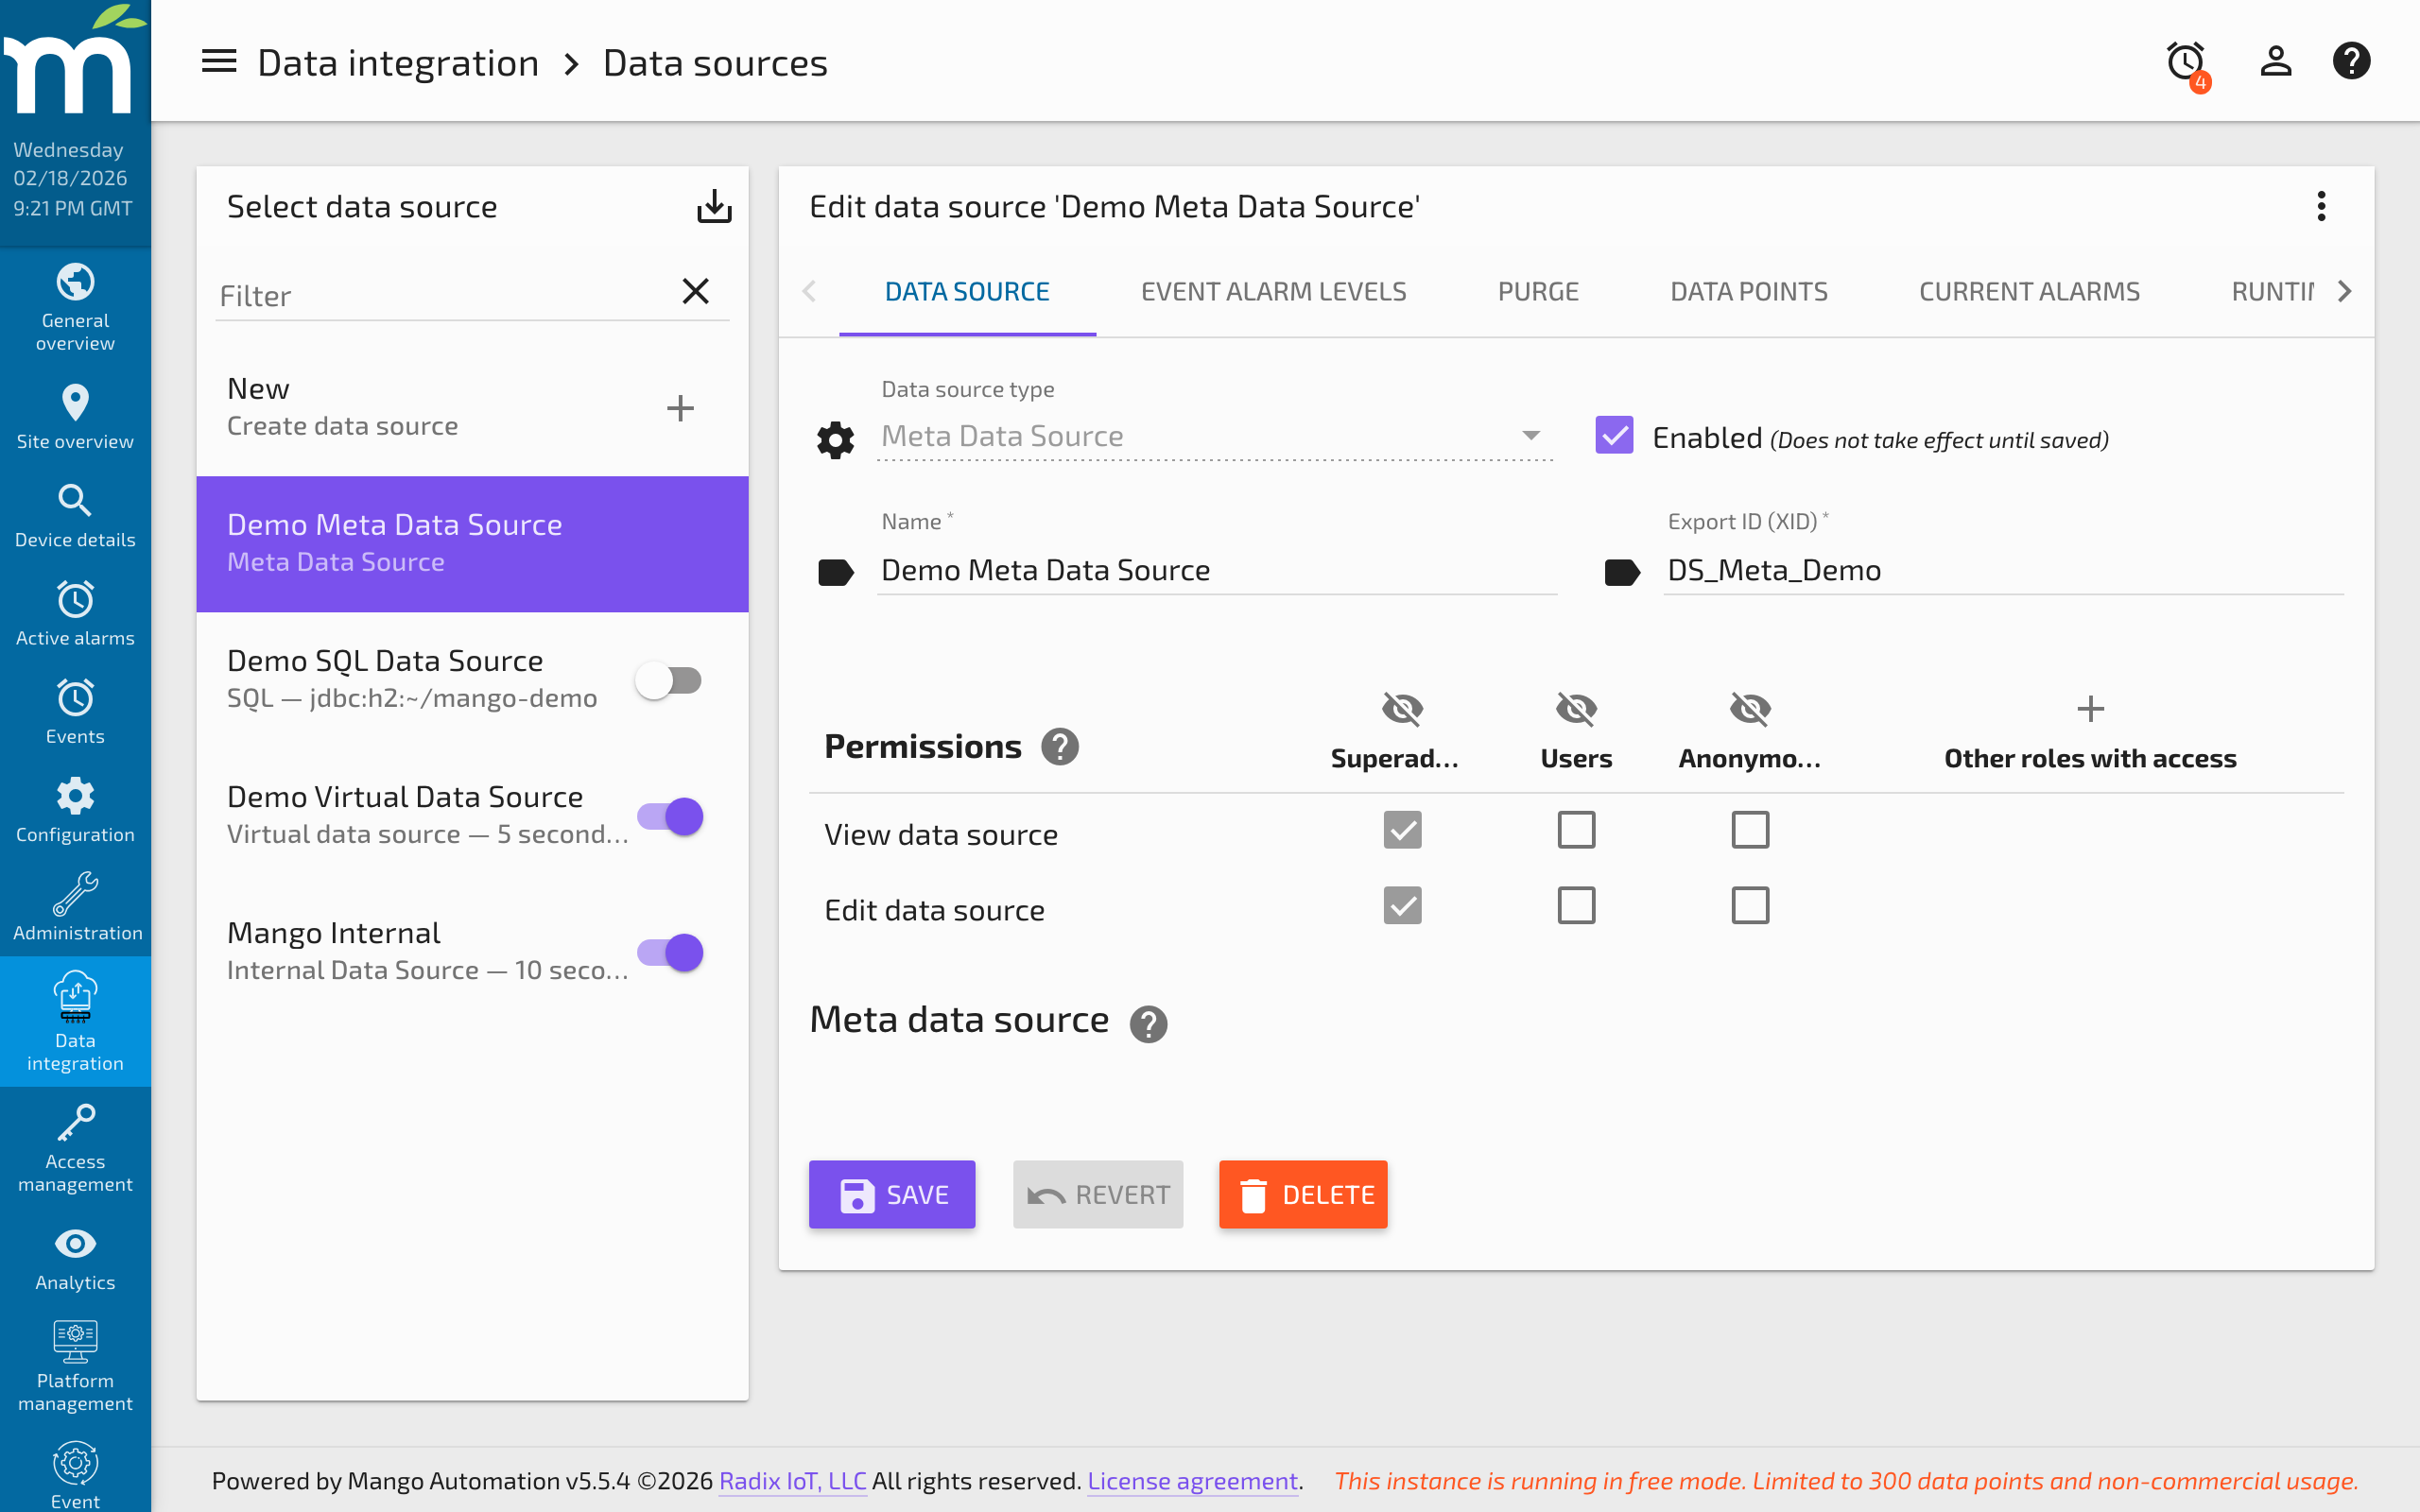
Step 1: Create a Meta Data Source
Navigate to the Data Sources page and create a new Meta Data Source. The Meta Data Source itself requires minimal configuration -- it serves as a container for your scripted Meta Data Points.
Step 2: Add a Meta Data Point
Within the Meta Data Source, create a new data point. Configure the following:
- Data type: Set this to match the type of value your script will return. For alarm conditions, use
Binary(true/false) orNumeric(to encode severity levels). - Script context: Add each source data point that your alarm logic needs to evaluate. Assign a short variable name (e.g.,
temp,pressure,coolant) to each context point. - Update event: Choose how the meta point recalculates. Options include when any context point updates, when a specific context point changes, or on a cron schedule.
Step 3: Write the Alarm Script
The script runs in a JavaScript environment and has access to all context points. Each context variable provides the current value and timestamp. The script must return a value matching the configured data type.
Example: Binary alarm when temperature is high AND cooling is off
// temp and coolingStatus are context point variables
var tempValue = temp.value;
var coolingOn = coolingStatus.value;

// Alarm condition: temperature above 80 AND cooling system is off
return tempValue > 80 && !coolingOn;
Example: Numeric severity based on multiple conditions
var tempValue = temp.value;
var pressureValue = pressure.value;
var flowRate = flow.value;

// Return severity level: 0 = normal, 1 = warning, 2 = critical
if (tempValue > 100 && pressureValue > 500) {
    return 2; // Critical: both high temp and high pressure
} else if (tempValue > 80 || pressureValue > 400 || flowRate < 10) {
    return 1; // Warning: any single abnormal condition
}
return 0; // Normal
Example: Time-window based alarm (repeated exceedances)
// Check the last 10 values of the temperature point
var values = temp.last(10);
var exceedCount = 0;

for (var i = 0; i < values.length; i++) {
    if (values[i].value > 75) {
        exceedCount++;
    }
}

// Alarm if more than 7 out of the last 10 readings exceeded the threshold
return exceedCount > 7;
Step 4: Attach an Event Detector
Once the Meta Data Point is saving values, add an event detector to it:
- For a Binary meta point, use a State detector that triggers when the value is
true. - For a Numeric meta point, use a High Limit detector set to the threshold that represents an alarm condition.
Set the alarm level on the event detector to the appropriate severity (Warning, Urgent, Critical, etc.).
Step 5: Configure Event Handlers
With the event detector in place, create event handlers to define what happens when the alarm fires:
- Email handler: Send notifications to operators or mailing lists.
- Set Point handler: Automatically adjust a control point (e.g., turn on a backup pump).
- Process handler: Execute an external script or command.
Alarm Acknowledgement
When an alarm is active, it appears in the alarm list for all users who have permission to view it. Operators acknowledge alarms to indicate they are aware of the condition and are taking action. Unacknowledged alarms remain visible with their severity indicator until they are either acknowledged by a user or the event returns to normal.
Alarms can be configured with escalation in email event handlers so that if an alarm is not acknowledged within a specified time period, additional notifications are sent to supervisors or alternative contacts.
Best Practices
- Keep scripts efficient: Meta point scripts execute frequently. Avoid complex loops over large datasets when possible.
- Use meaningful variable names: Choose context variable names that clearly describe the source point (e.g.,
tankLevelrather thanp1). - Test with Generate History: After creating a meta point, use the Generate History feature to backfill values and verify that your script produces the expected results.
- Document alarm conditions: Use the data point description field to record what the alarm condition means and what action operators should take.
- Layer your alarms: Use multiple meta points with different thresholds and alarm levels to provide graduated warnings before critical conditions are reached.
Related Pages
- Meta Data Source — Detailed configuration guide for creating virtual data points with scripts
- Setting Up Event Detectors — Attach event detectors to meta data points for alarm triggering
- Alarms and Alarm Management — Understand alarm levels, acknowledgment, and the alarm lifecycle
- Event Handlers — Configure email, set point, or script handlers for alarm response
- About Mango JavaScript — Scripting API reference for meta data point scripts